Monday, 16 March 2009

Event Aftermath: Boxing Day Dinner 2008

Rather late (as usual), but I thought I'd post some pics of my Christmas holiday when I went home :D

On Boxing Day 2008, my dad decided to take us all out for a nice Japanese dinner where I can wear one of my kimono! :D I was so happy! It means that he's willing to accept that I will wear kimono out in public from time to time! ^_^ Although, I suppose it also means that he would feel better if I were to wear kimono in a setting he can control, but it's still one step forward from "You're wearing that out? Okaaay... Enjoy yourself!" ^_____^

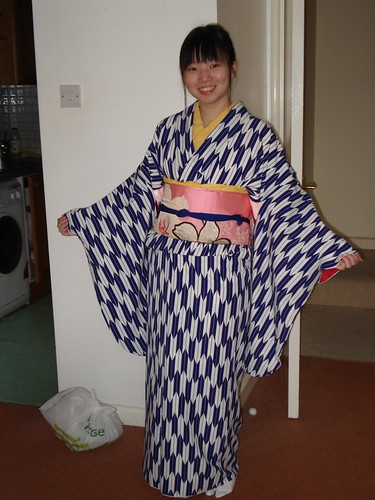
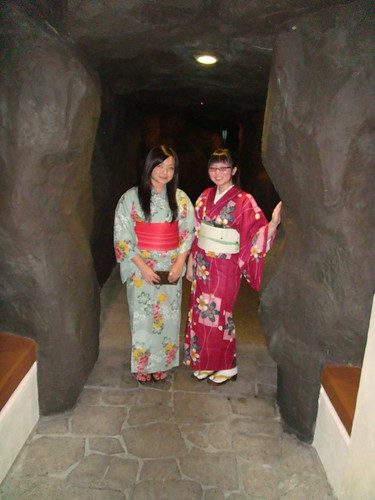
Since it was Christmas-time, my sister and I decided that a green and red theme was to be a must. I only had one properly red yukata with me, so I once again wore the yukata I wore out to dinner last time (see post here). This time, I wanted to wear it a little dressier, so I added a ro juban, and wore a nagoya obi. For the green element of my outfit, I wore my dark green ro obiage and obijime set. I'm glad to see that set come into some use!

I also got to dress my sister in a yukata! She chose a green yukata, which I'd worn once on a "test drive". For her "red" element, we chose a red obi that's actually a little orangey. I rather like her outfit! It looks alot younger and more festive than mine ^^;; I look like an old obaachan, especially with my new glasses!

Both yukata are actually part of those two lots of 5 yukata that I bought. They were really cheap, and although they do look cheap as well, they're really comfortable and do look nice, don't you think? I'm glad I managed to get so much use out of them! :)

Here is a picture of the whole family at the restaurant :)
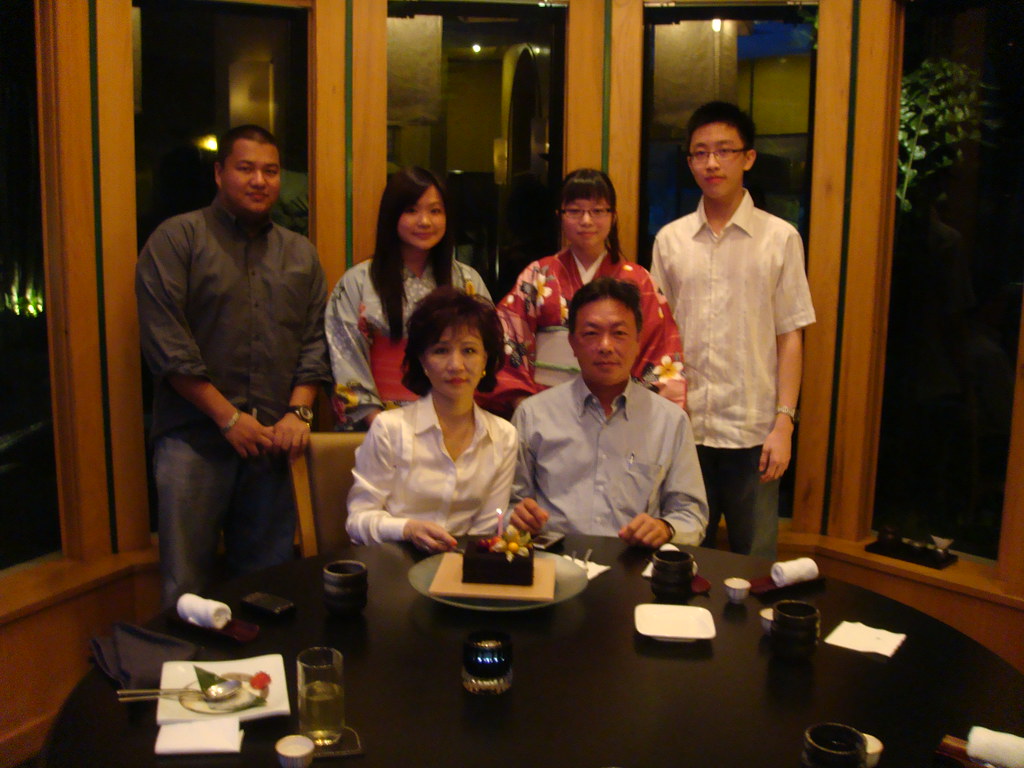
Left to right (upper row): Rommel aka Pot (sister's boyfriend), Petrina (big sister), Priscilla (me), Patrick (little brother)

Lower row is my mum and dad :)

Omg, when we first took that photo (the restaurant staff helped), the first thing I noticed is that my brother and I look so much alike it isn't even funny!! I mean.. We had the same dorky glasses, the same dorky smile... O____O This is the first time in like 10 years that we look anything remotely alike!! I think we can also see the family resemblance with my dad hehehehe :D

Next up is a picture of my sis and I standing outside the restaurant. In case you want to know, the restaurant is called "Iketeru" and is in KL Hilton.


Next is a picture of my sister and I outside the restaurant. This is a rocky sort of "tunnel" that separates the restaurant from the swimming pool on the 8th floor. It looks better than in the pictures, really!

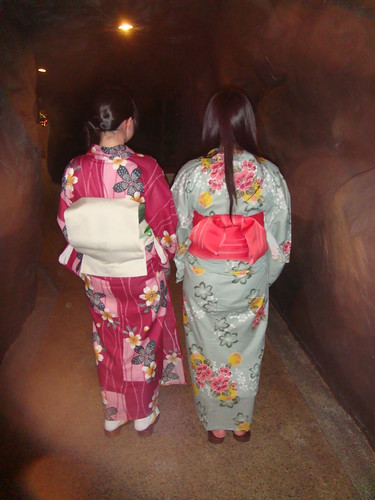
This is how our backs look like. I think I tied our obi neater, but it somehow got messed up while we were eating haha.

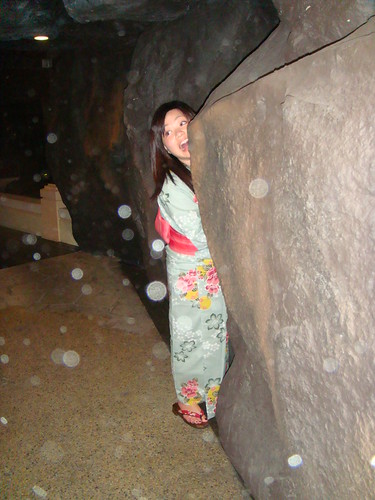
I call this picture "Aquaphobic" :P Somewhere along the rock tunnels, there's this part that goes through a waterfall. We took this picture there :D I really like this one!

Later on, after dinner, we went to the cafe downstairs to have a drink.
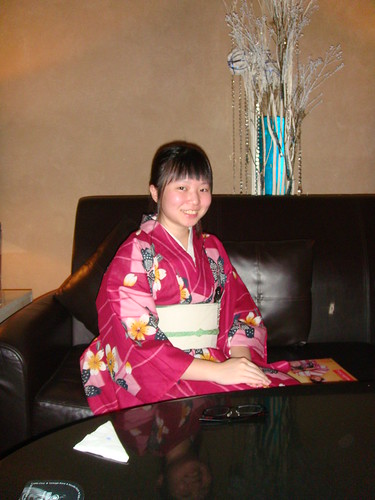

That was an enjoyable Boxing Day dinner!

Before I go, I'll just leave you guys with a couple of pictures of some cupcakes my sister and I made for our church's Christmas Eve dinner! We made over 200 of these little cakes. I'm quite proud of how they turned out!
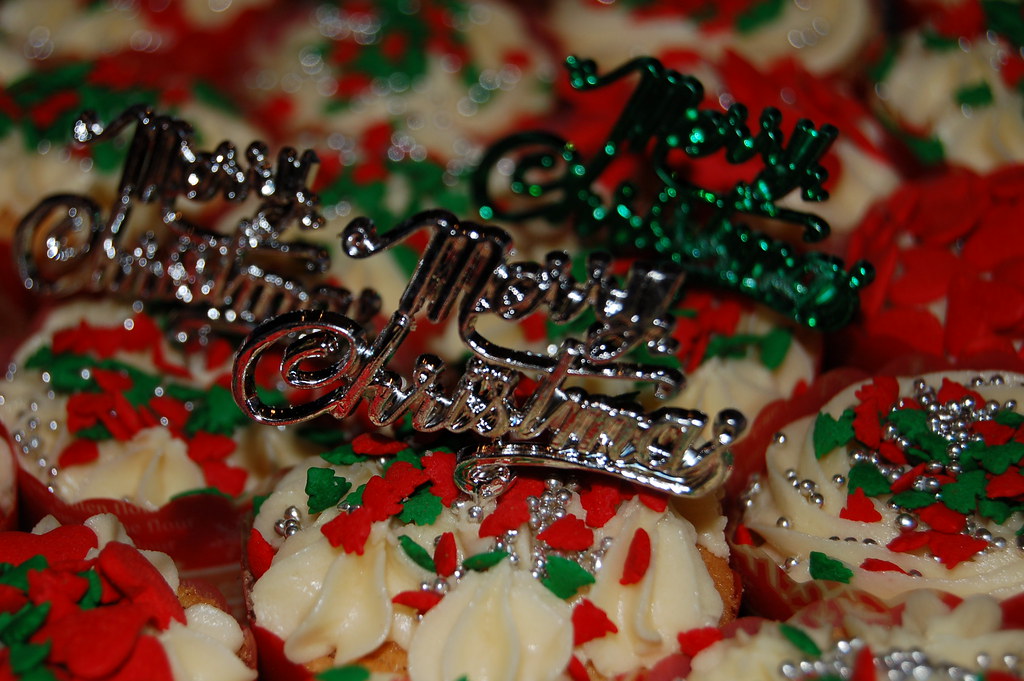


We baked alot over Christmas. I can't seem to find some of the pictures we took, but if I do, I'll be sure to post them! :D


Sunday, 15 March 2009

Butter Cake with Buttercream Frosting

It's taken me 7 hours from deciding to bake a cake to digesting my first slice and uplading photos. Since it's so fresh in my mind, and I doubt I'm going to sleep anytime soon thanks to a sugar rush, here is my post about the recipe.

I'd baked the cakes according to the recipe here. It took me about 45 minutes to bake each cake to perfection (i.e. not undercooked, brown on all sides, even rising, and not overcooked so that it's dry). It would've been faster if I'd baked 3 cakes instead of 2, but then I wouldn't have enough frosting. I suppose it also would've gone faster if I had more than just one cake pan :P

Here's a picture of the first cake cooling in its pan!


I took cake out of pan, washed pan, yadda yadda yadda, baked second cake. I did what was mentioned in the recipe: for each cake, I first cooled it in the pan for about 10 minutes, then I took it out and wrapped it tightly in clingfilm and left it to cool like that. I must say, the cake really stayed moist that way!! I must remember to employ that method more frequently.

I was desperate to finish making the whole cake in one night, rather than leaving it to cool then frosting it tomorrow, so I put the warm cakes into the fridge to cool *cringes* Yes yes, I'm a bad girl for doing it, but I was desperate!

Anyway, I followed the frosting recipe that was given in Bakerella.


Easy Buttercream Frosting

1 cup (2 sticks) butter (room temperature)
1 teaspoon pure vanilla extract
1 1b. 10X powdered sugar
1-3 teaspoons milk, half and half or cream


Using a mixer, cream softened butter and vanilla until smooth.
Add sugar gradually, allowing butter and sugar to cream together before adding more.
If you want your frosting a little creamier, add a teaspoon of milk at a time and beat on high until you get the right texture.
Then, just use icing colors to tint the frosting the color of your choice.


It's essentially the same frosting that we use for our cupcakes (see this picture) but this was easier to remember: one stick of butter with one teaspoon of vanilla, mixed, then one box of icing sugar. Easy! And absolutely delicious to boot :D

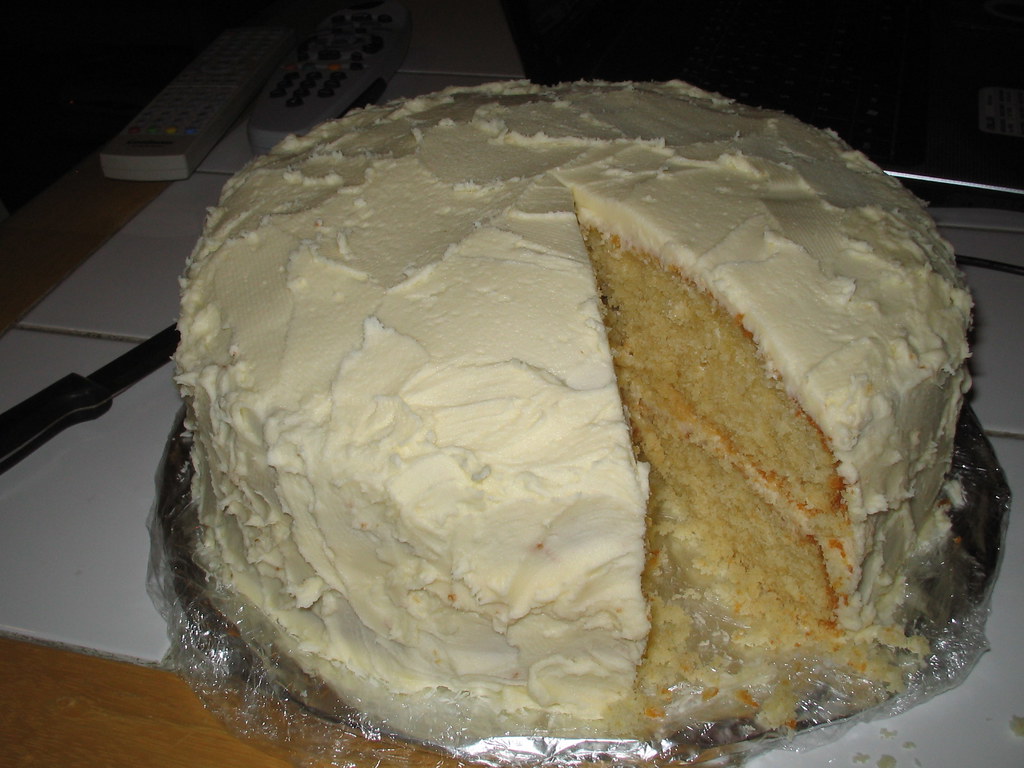
Here's a picture of the mostly-frosted cake:


Yeah, the frosting looks ugly, but I don't have a proper spatula to use, so I had to make-do with a knife, and I didn't actually have enough frosting to make prettier/deeper swirly patterns, so I'm stuck with this.

OH and the reason why the "plate" looks so weird is because it isn't actually a plate. I don't have any flat plates, and I didn't have any of those stiff cardboard cake-plate thingies, so I made my own. I cut a large circle out of a cardboard box (courtesy of my Il Bordello take-away dinner last night. The spaghetti carbonara was good, as always), then wrapped it in two layers of foil and one layer of clingfilm. I'm a little worried I might accidentally rip the clingfilm when I'm cutting the cake, but there isn't anything I can do about it now.

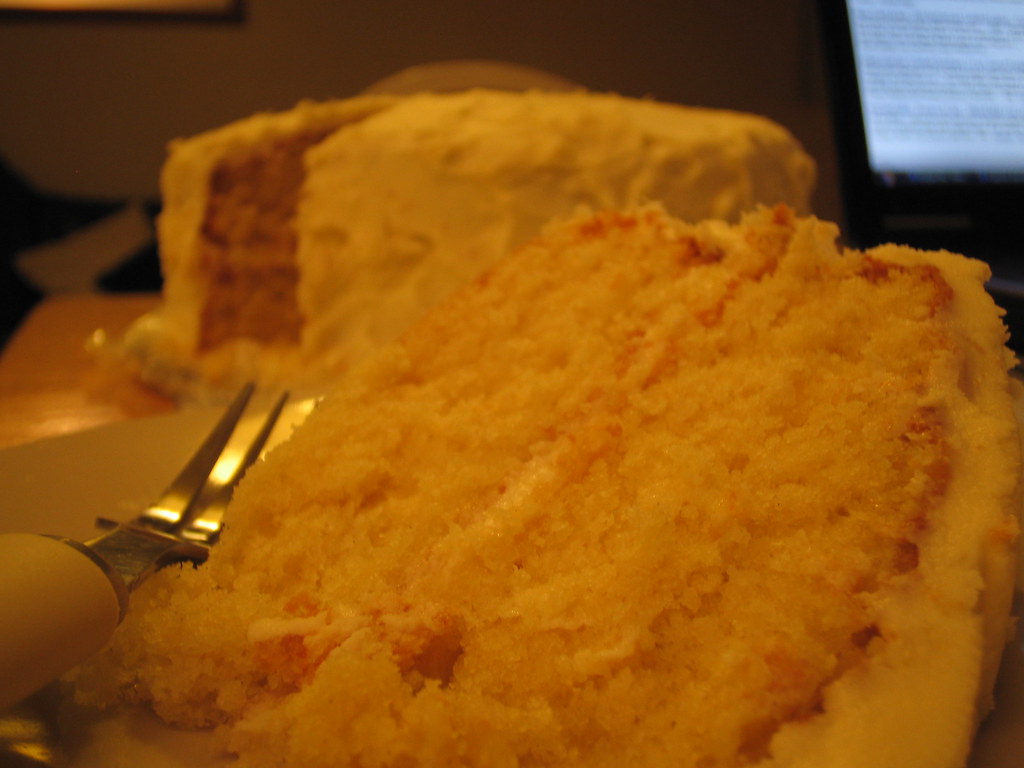
Once the frosting was done, I had to wait for it to set. In the meantime, I attempted to take "artistic" pictures :P

I love how this picture shows the texture!


In the background, you can't actually see it, but the laptop screen has the recipe on it :P

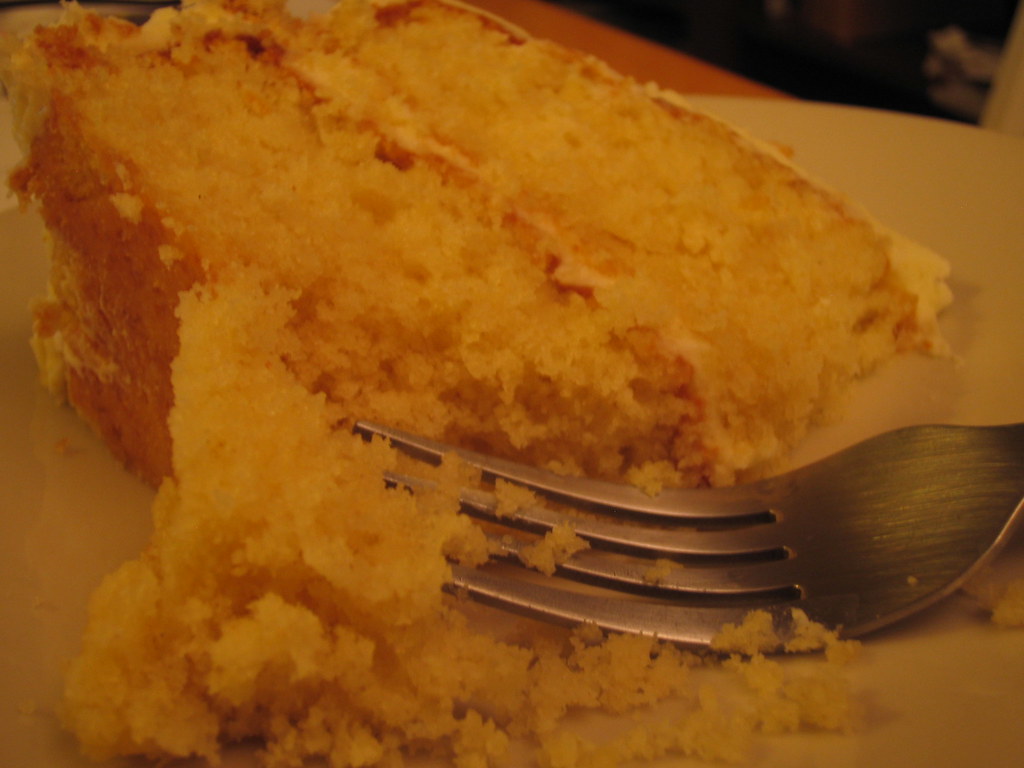
And finally, I decided it was time to cut the cake and reward myself with a not-so-little slice.


Aaaaaand more attempts at artistic photography! :D


I must admit, I do like that second-to-last picture. It really makes me think of home, for some odd reason! You know... A slice of cake on a plate, just waiting to be eaten. A laptop nearby, all set to be used. The rest of the cake sitting oh-so-temptingly in the background... All on a wooden table. All it needs is a mug or something! :D

Don't mind the weird colours of the photos.
Bad lighting + no flash = nearly sepia-like feel. I kinda like it! :P

Anyway, onto my review of the cake!


The Verdict:
Ingredients: Except for the butter flavouring, this recipe, being a very basic recipe, is something you can just whip up whenever you feel like it. If you are someone who bakes often enough, all the ingredients should already be in your store cupboard/fridge. :)

Easiness: It's really simple to make if you have a mixer. Even if you don't have a mixer, it doesn't take too much energy! It doesn't really affect the taste or texture, I think. The cake I made today was entirely by hand, and it was really good, anyway! :)

Texture: Very nice texture. It's a little crumbly, but not at all dry! That might change as the cake gets older, but I'll have to get back to you on that ;) Best thing about it is that although it's moist, it isn't so moist that the cake sticks everywhere in your mouth and on your teeth when you eat it. It's just perfect, in my opinion!

Taste: Excellent taste! Not too sweet, not too cloying, although the buttercream frosting can be a little overwhelming at times. Not as buttery as some (i.e. mum) might like it, but then again, I didn't add the butter flavouring. I'll add some next time, and we'll see how it tastes then :)


Will I use this recipe again? Most definitely! I will admit that this butter cake turned out nicer than the other butter cake my sister and I tried baking over the summer. Horribly dry with little butter taste, that one was. I think this recipe will now replace my old recipe as favourite basic recipe! ;)

Hey Ling, since you have the KitchenAid at home, why don't you try making this? I'm sure that Ma will loooooove it, especially if you add the butter flavouring! But bake it in a square tin, and don't put the frosting, otherwise the parents prolly wouldn't eat it ;)

If anyone else does try this recipe, please post a comment on how it turned out! <3


Butter Cake

I've been craving for a butter cake the whole day (having sadly forgotten the Hummingbird Bakery cupcakes Mel brought over yesterday), but I didn't have milk in the house, so I couldn't bake any nice, moist cake. Eventually, I got desperate enough that I asked James if I could take some milk from his carton.

Happily, I began to bake my cake, using a recipe I'd found from my newfound favourite baking blog: Bakerella!


Moist Yellow Cake

1 cup (about 225g) butter (room temperature)
2 cups sugar
4 eggs (room temperature)
3 cups sifted self-rising flour
1 cup whole milk (room temperature)
1 teaspoon pure vanilla extract
1/2 teaspoon butter flavoring


Preheat oven to 175 degrees Celcius.
Grease and flour (3) 8 inch cake pans.
Using a mixer, cream butter until fluffy.
Add sugar and continue to cream for about 7 minutes.
Add eggs one at a time. Beat well after each egg is added.
Add flour and milk in an alternating pattern, beginning and ending with flour. (I added them 4 tablespoonfuls by 4 tablespoonfuls)
Add vanilla and butter flavoring, until just mixed.
Divide batter equally into three cake pans.
Hold each layer about 3 inches above your counter and carefully drop the pans flat onto counter several times to ensure release of any air bubbles. This will help you have a more level cake.
Bake for 25 - 30 minutes (depending on your oven) until done.
Cool in pans for 5 - 10 minutes.
Remove and immediately wrap each layer in plastic wrap to seal in moisture. Cool completely on wire racks.
Once cooled, you are ready to assemble your cake.


I haven't actually finished baking it yet. I did make a few changes to the recipe: instead of whole milk, I used skimmed, simply because I didn't have whole milk on hand. I didn't have any butter flavouring on hand, so I didn't add it. I also didn't use store-bought self-raising flour, but instead made my own from plain flour, baking powder and salt, also because I didn't have any on hand.

The most obvious difference is that I used 2x 9 inch round pans, rather than 3x 8 inch pans. Obviously, the cooking time would be far longer - about double the stated length of time. Of course, I have only one cake pan, so I had to bake them in two batches. The second one is in the oven right now. I must say, the cake certainly smells heavenly! I can't wait for it to finish baking and cool down, so I can ice it and enjoy it :D I'll post again when the cake is done!


Friday, 13 March 2009

Cherry Pastries and Sugared Breadsticks

About 10 months ago, my sister posted pictures of some simple strawberry pastries she'd made at home at this post: clicky clicky! Later on, she posted the recipes here: CLICK!

Last night, my jar of morello cherries in syrup was about to expire, and I'd already eaten a bowlful of the cherries themselves and didn't want anymore. I just happened to have a roll of puff pastry that I was saving for sausage rolls, so I took it out and cut out squares, then put the cherries in the middle of one square, drizzled it with honey and sprinkled with sugar, and covered it with the other square to make a nice little pastry. I then baked it according to pack instructions (220C for 15mins) and it turned out really well!

It was definitely sweet enough, which I suppose is because the cherries were already in syrup. I think the sheer amount of sugar I put in helped alot too :P

Today, I had a craving for cinnamon breadsticks, so I went downstairs and made the next best thing: I cut strips of puff pastry, sprinkled them liberally with white sugar, then sprinkled mixed spice (my cinnamon powder had expired) and baked it for 10mins in a 220C oven. It turned out really well! The pastry rose high and became rather hard and almost biscuit-like, and it was sweet and lightly spiced and delicious. I have half a mind to keep a roll of puff pastry in my fridge all the time for this now!

.... So much for giving up sweet stuff. But in my defence, I haven't bought any sweet stuff since I made that promise!


Saturday, 7 March 2009

Lord of the Rings

*sighs* I am afraid I have to confess that not only am I a Harry Potter freak (if you didn't know that already), I am also a Lord of the Rings, or rather, a Tolkien freak.

I'm not too keen on the books, because Tolkien's writing style seems a little too long and dreary for my tastes (but that was a few years ago, so I may have to revisit that thought!), but the world! The Tolkien world! My God, I had not known fantasy till now. If I thought Harry Potter was a world I can immerse myself into, the Tolkien world is so much better: I can absolutely lose myself into it!

I suppose the very pretty movies and their excellent soundtracks (*cough* and not to mention fanfiction) did help me alot in converting. :P Here's a little video of the Lord of the Rings trilogy movie bloopers which I've been watching. It's hilarious!


Hehehehehe XD

Arwen: *puts down sword* O_O ahhhhhhhh..!

Boromir: *opens mouth* ...... *chopper flies by*

*rofl* When I go out tomorrow, I'm SOOOOOOO buying the DVDs. I don't know where my copies have gone, but no matter! Always good to have more XD

*sighs* I'm such a fantasy dork... And I'm lovin' it! XD


Tuesday, 3 March 2009

Event Aftermath: Tokyo City Promotion, London

On Saturday 31st January 2009, there was a Tokyo City Promotion fair in Westminster, London. Of course, we IG-ers had to go! :D

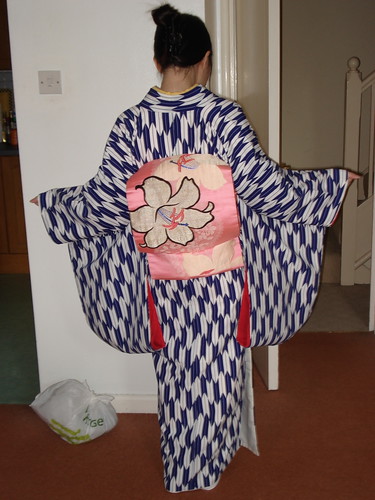
This is what I wore to the thingy:


It's my new blue yabane kofurisode! I absolutely LOVE my pink lily obi with it! I think it makes it look really bright, and the yellow accessories really make it "pop" :D

Hong and I put this outfit together with the Showa Kimono book in hand. We were hoping to have achieved that "Showa" look! Did we succeed?

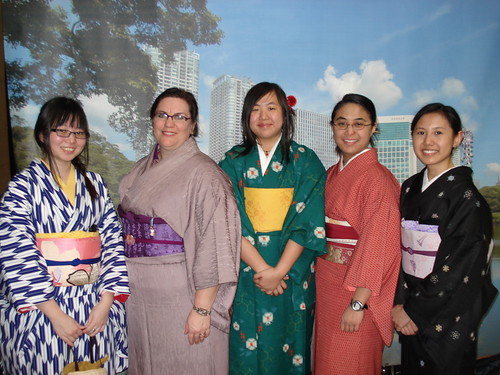
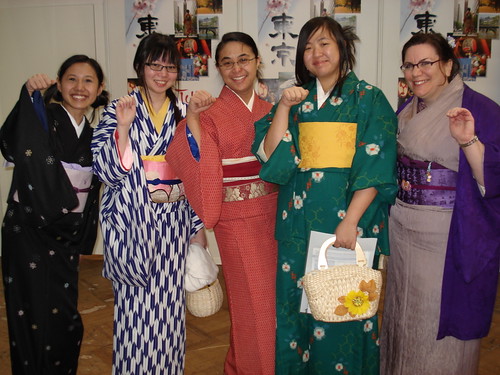
Here are pictures of the 5 of us together :) Yeah, Mel came along, and we put her in a kimono too! What she's wearing is a wool kimono and haori set, with a yellow hanhaba that actually came with my UNIQLO red bunny yukata set. The kimono and haori ensemble used to be Hong's, but she didn't want it, so she traded it with me for the ensemble that she is wearing. I really like that kimono and obi set, but I could ee that Hong loved it so much more, so we just traded :)


Our trademark (:P) maneki-neko pose! XD


There was a kanzashi-maker there who was giving mini-demos and displaying his works. He actually allowed us to buy some kanzashi!! XD I didn't buy one, of course, because I don't use hair accessories often enough to justify getting one, although they're really pretty. This is the one that Mel got:

Yeah, Hong is actually the one wearing it, because it matched her outfit perfectly, while her kanzashi matched Mel's really well! :P

More pictures on my Flickr page XD And more pictures to come hehehe~~


Event Aftermath: London MCM Expo October 2008

I promised pictures of the London MCM Expo of October last year >.>""" Well, here they are! 4 months late, but they're here XP

First is the three of us (all in hakama!) and someone cosplaying Zetsubou-sensei from Sayonara Zetsubou-sensei ^^


One of the few photos we have of the three of us together!


This is me by the waters! I really like this photo - it really makes me think of the Meiji era! XD I was kind of aiming for the Meiji schoolgirl look, and this makes me think of a young girl overlooking a river in an era when Japan is modernizing! Oh, and you gotta love the parasol and the wind blowing through my hakama XD Some people on the IG forums said that it looks rather romantic, and I'm inclined to agree!


Haha, too bad it was so sunny! It was meant to be one of those "open the umbrella before the rain comes" kind of photos :P


This is Isla's kami-kanzashi (hair ornament) in the shape of a butterfly. Isn't it gorgeous?? She made it herself! Amazing, isn't it??


There are more pictures on my Flickr page, but I'm kinda lazy to upload them here :P So that's all for now for this post! Next up are some other kimono meet pictures hehehe...